Elasticsearch is a search engine based on the Lucene library. It provides a distributed, multitenant-capable full-text search engine with an HTTP web interface and schema-free JSON documents.
As the heart of the Elastic Stack, it centrally stores your data for lightning fast search, fine‑tuned relevancy, and powerful analytics that scale with ease.
This post will guide you through installation and configuration of Elasticsearch and Kibana.
Update package index files
sudo apt updateInstall dependencies
sudo apt-get install apt-transport-httpsImport the Elasticsearch PGP Key
wget -qO - https://artifacts.elastic.co/GPG-KEY-elasticsearch | sudo gpg --dearmor -o /usr/share/keyrings/elasticsearch-keyring.gpgAdd the Elastic source list to the sources.list.d directory, where apt will search for new sources:
echo "deb [signed-by=/usr/share/keyrings/elasticsearch-keyring.gpg] https://artifacts.elastic.co/packages/8.x/apt stable main" | sudo tee /etc/apt/sources.list.d/elastic-8.x.listElasticsearch Installation
Install elasticsearch
sudo apt update && sudo apt install elasticsearchEnable Elasticsearch service
sudo systemctl daemon-reload
sudo systemctl enable elasticsearch.service
Elasticsearch can be started as follows
sudo systemctl start elasticsearch.serviceTo stop Elasticsearch run below command
sudo systemctl stop elasticsearch.serviceTo list journal entries for the Elasticsearch service run below command
journalctl --unit elasticsearchYou should see similar output as below in the console
$ journalctl --unit elasticsearch
Aug 01 11:34:36 abb systemd[1]: Starting Elasticsearch...
Aug 01 11:34:49 abb systemd[1]: Started Elasticsearch.
To reset password of Elasticsearch run below command
sudo /usr/share/elasticsearch/bin/elasticsearch-reset-password -u elasticYou should see output similar to below in the console
$ sudo /usr/share/elasticsearch/bin/elasticsearch-reset-password -u elastic
This tool will reset the password of the [elastic] user to an autogenerated value.
The password will be printed in the console.
Please confirm that you would like to continue [y/N]y


Password for the [elastic] user successfully reset.
New value: D5SQMkZ*I_m5qCVAFHQE
To Check Elasticsearch is up and running run below command
curl -k -u elastic https://localhost:9200You should see output similar to below after entering the password
$ curl -k -u elastic https://localhost:9200
Enter host password for user 'elastic':
{
  "name" : "abb",
  "cluster_name" : "elasticsearch",
  "cluster_uuid" : "bD_SCK32SYinR79L6SbagQ",
  "version" : {
    "number" : "8.8.2",
    "build_flavor" : "default",
    "build_type" : "deb",
    "build_hash" : "98e1271edf932a480e4262a471281f1ee295ce6b",
    "build_date" : "2023-06-26T05:16:16.196344851Z",
    "build_snapshot" : false,
    "lucene_version" : "9.6.0",
    "minimum_wire_compatibility_version" : "7.17.0",
    "minimum_index_compatibility_version" : "7.0.0"
  },
  "tagline" : "You Know, for Search"
}
Kibana Installation
Install kibana by running below command
sudo apt install kibanaMake below changes in /etc/elasticsearch/elasticsearch.yml to allow connection from kibana. Edit the file and uncomment/edit lines.
http.port: 9200
network.host: 0.0.0.0
Restart Elasticsearch service
sudo systemctl restart elasticsearchMake below changes in /etc/kibana/kibana.yml to configure kibana.
server.port: 5601
server.host: "X.X.X.X" (Kibana server's IP address)
For e.g.,
server.port: 5601
server.host: "192.168.0.183"
Restart kibana
sudo systemctl restart kibana.service Access host ip:5601 (for e.g http://192.168.0.183:5601/) in a browser to configure Kibana with Elasticsearch.
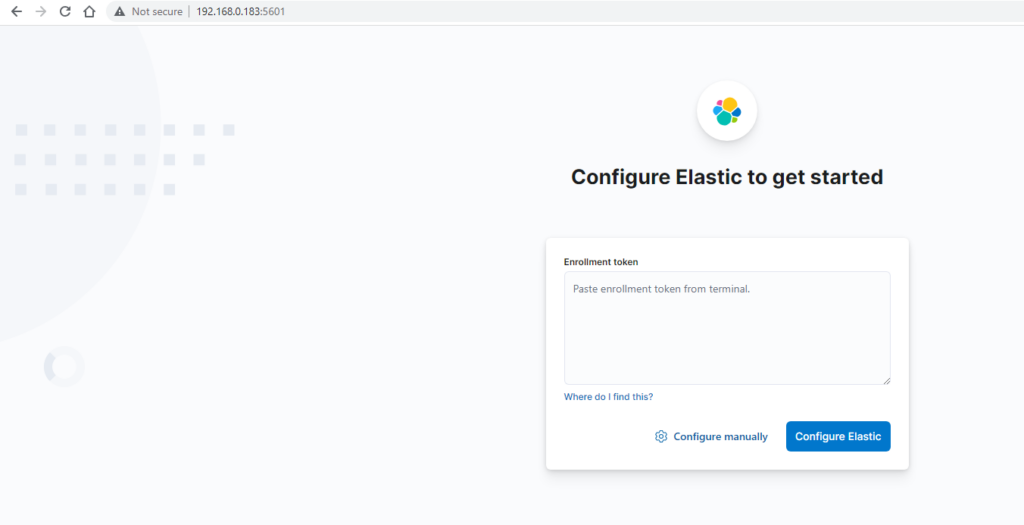
Run below command to generate enrollment token
sudo /usr/share/elasticsearch/bin/elasticsearch-create-enrollment-token -s kibanaReference output
ability@abb:~$ sudo /usr/share/elasticsearch/bin/elasticsearch-create-enrollment-token -s kibana
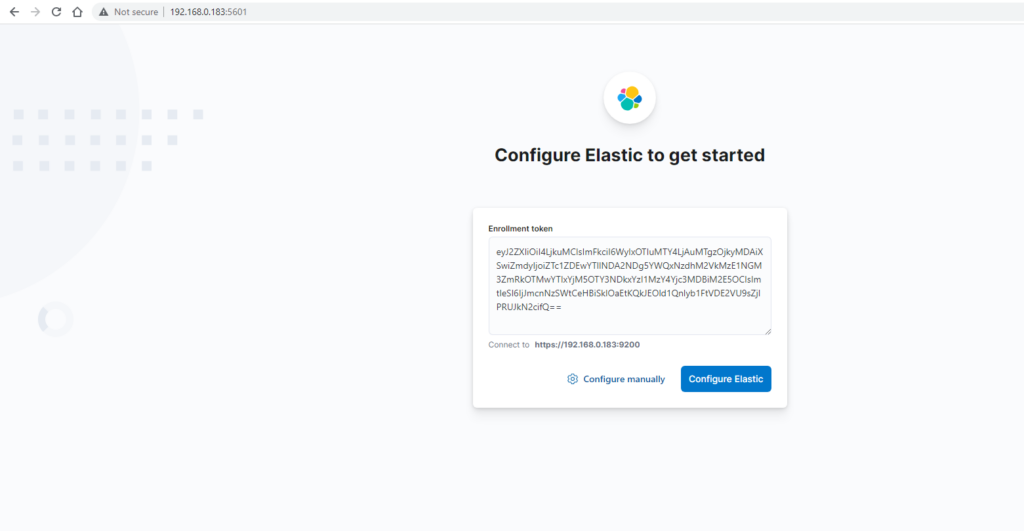
eyJ2ZXIiOiI4LjkuMCIsImFkciI6WyIxOTIuMTY4LjAuMTgzOjkyMDAiXSwiZmdyIjoiZTc1ZDEwYTllNDA2NDg5YWQxNzdhM2VkMzE1NGM3ZmRkOTMwYTIxYjM5OTY3NDkxYzI1MzY4Yjc3MDBiM2E5OCIsImtleSI6IjJmcnNzSWtCeHBiSklOaEtKQkJEOld1Qnlyb1FtVDE2VU9sZjlPRUJkN2cifQ==Enter enrollment token in textbox and click on ‘Configure Elastic’ button
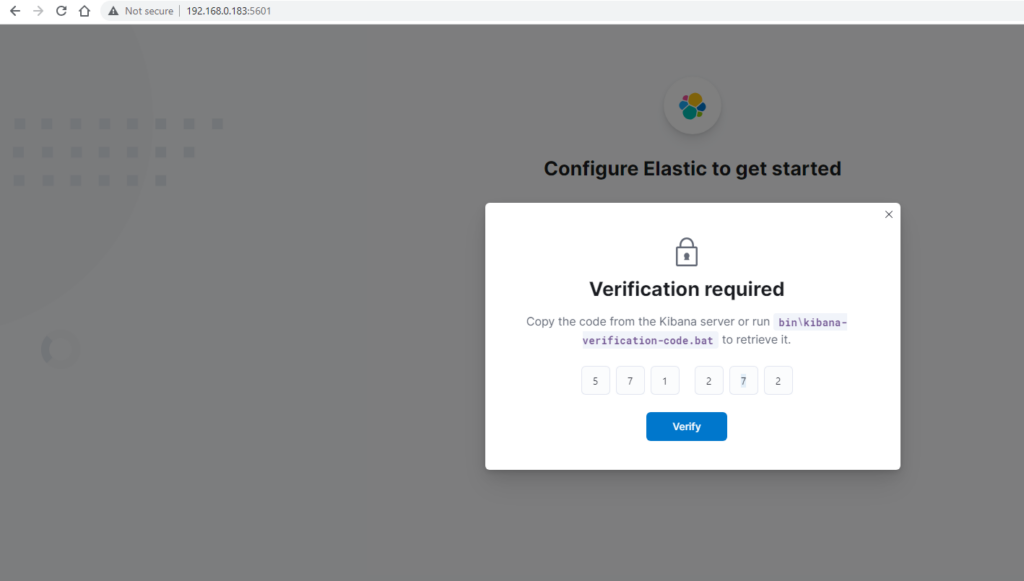
Next step is to verify using another token
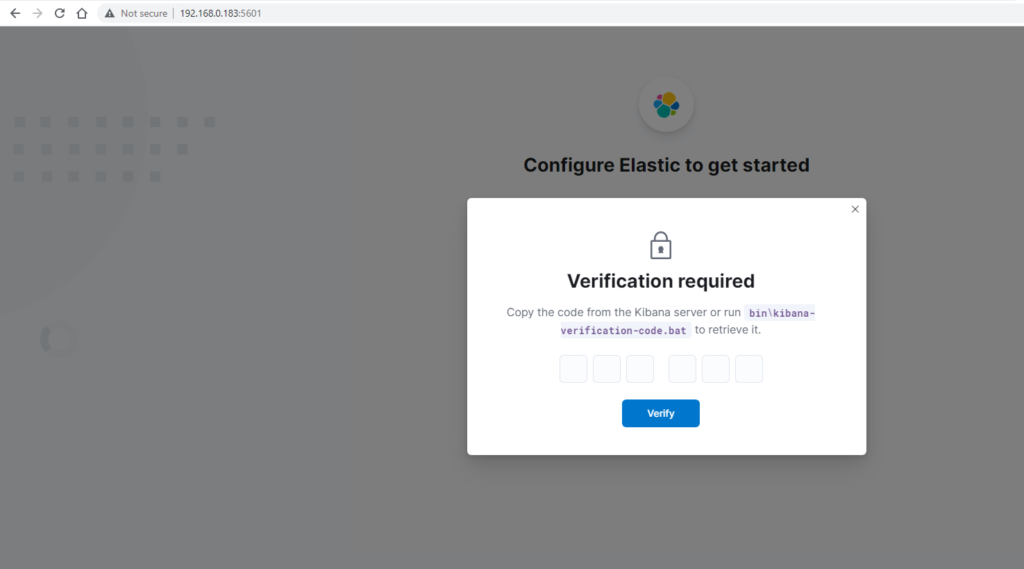
To generate verification token
sudo /usr/share/kibana/bin/kibana-verification-code Reference output
$ sudo /usr/share/kibana/bin/kibana-verification-code
Your verification code is:  571 272
Enter verification code and click on ‘Verify’
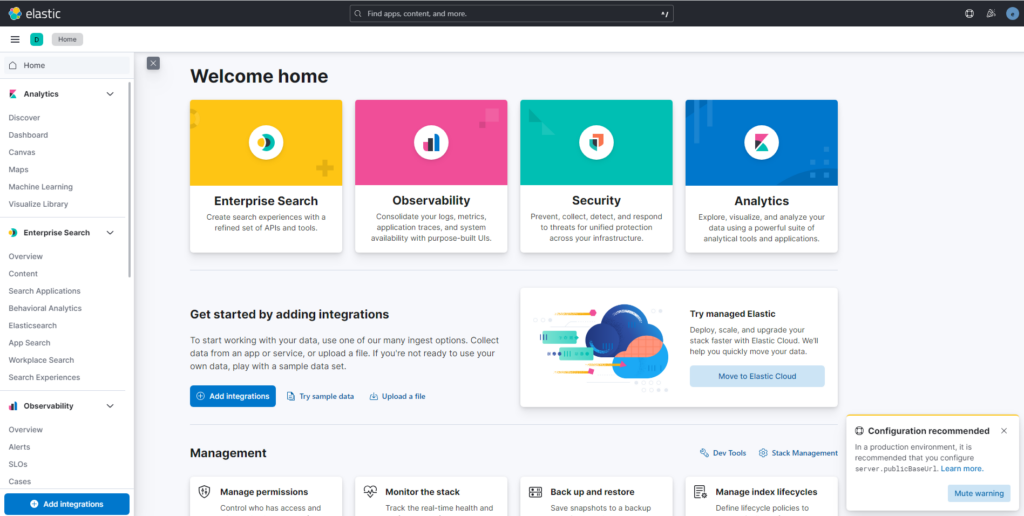
You should see below page
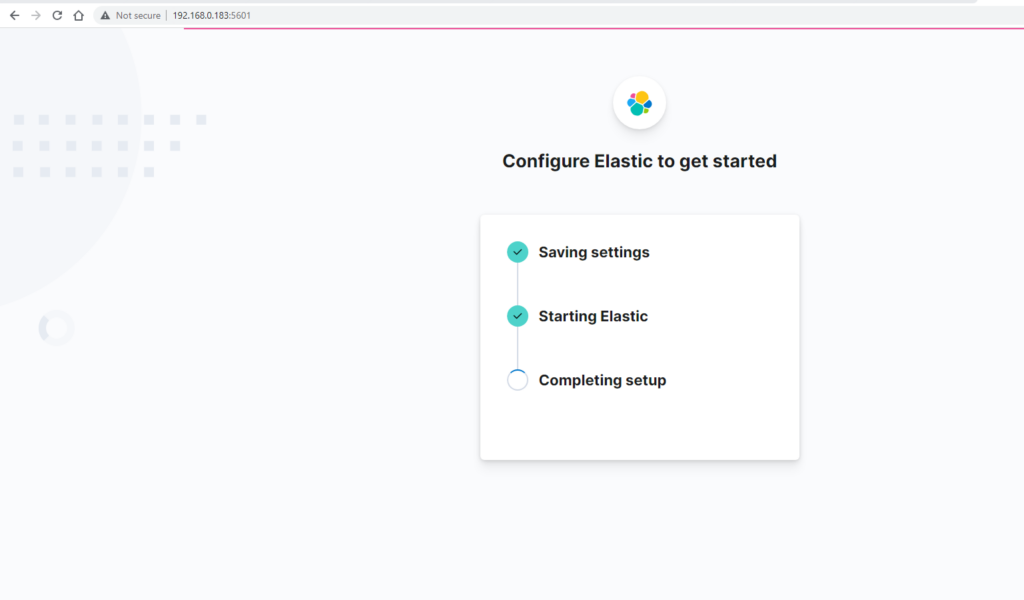
Refresh the page if installation stuck at ‘Completing setup’ step. After setup is completed successfully login page is displayed.
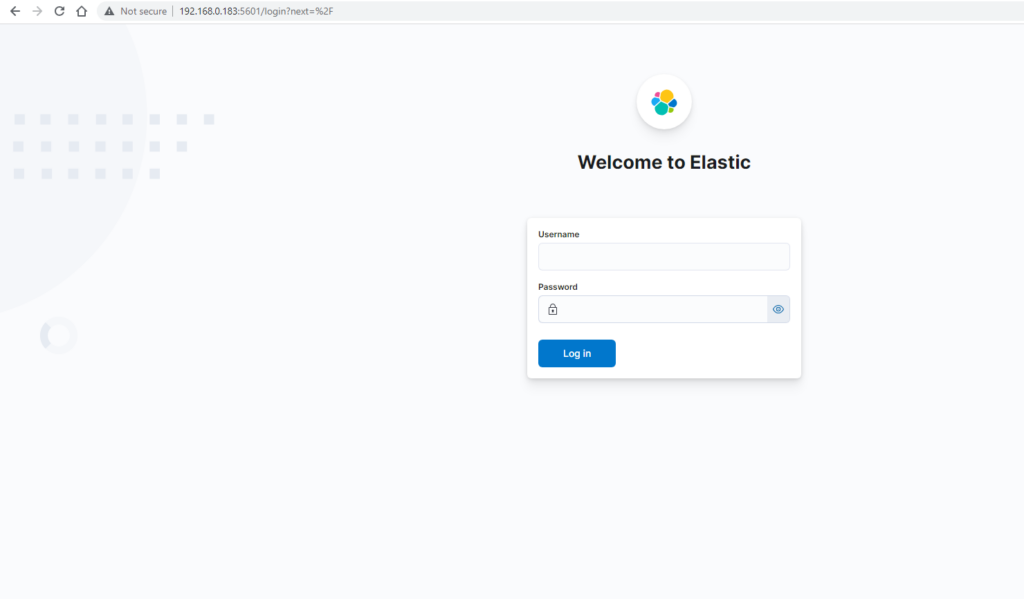
Enter the credentials. Username is elastic.